
This guide came out of a conversation I had with a customer last spring ? he’d just wasted two rolls of 3K twill and a bag of resin because his bag leaked mid-infusion. No dramatic explosion, just a slow, invisible pinhole that ruined six hours of layup work. I’ve been there. Here’s what I wish someone had told me before my first infusion run.
What Vacuum Infusion Actually Is (Skip This If You Already Know)
You’re pulling liquid resin through dry fiber using vacuum pressure instead of squeezing it in by hand. The bag does the clamping. The pressure differential does the resin distribution. When it works, the result is a part with a fiber-to-resin ratio that’s genuinely hard to beat by hand lamination ? typically 50?60% fiber volume vs. 35?45% with wet layup.
When it doesn’t work, you get dry patches, race-tracking along the edges, or a bag full of partially cured resin that’s stuck to everything.
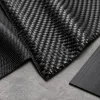
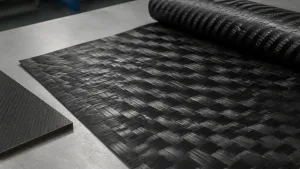
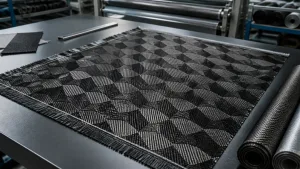
Step 1 ? Fabric Selection: Not All Carbon Cloth Infuses the Same Way
This is where most beginners go wrong. They grab whatever 3K twill they have lying around without thinking about how resin will move through it.
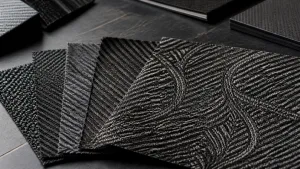
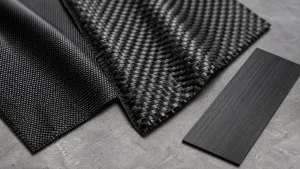
Tight weaves (plain weave, especially heavier GSMs) slow resin travel significantly. For anything larger than roughly 300?300mm, I default to twill ? the diagonal interlacing gives resin an easier path. If you’re infusing a flat panel, 240g/m? twill is a reasonable starting point.
Spread-tow fabrics (12K and up) are a different story. The flat, ribbon-like tows mean almost no crimp, which lets resin flow fast and evenly. Great for large flat structural parts. Harder to get into curved geometry without bridging.

Step 2 ? Stack Your Consumables Before You Mix Resin
I cannot stress this enough: once you’ve mixed resin, you’re on the clock. Pot life for most infusion-grade epoxies runs 30?90 minutes at room temperature. If you’re still hunting for your infusion plug while the resin is sitting in the bucket, you’ve already lost.
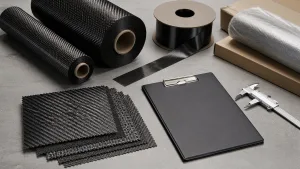
Here’s what needs to be on the bench, cut to size and labeled, before you do anything else:
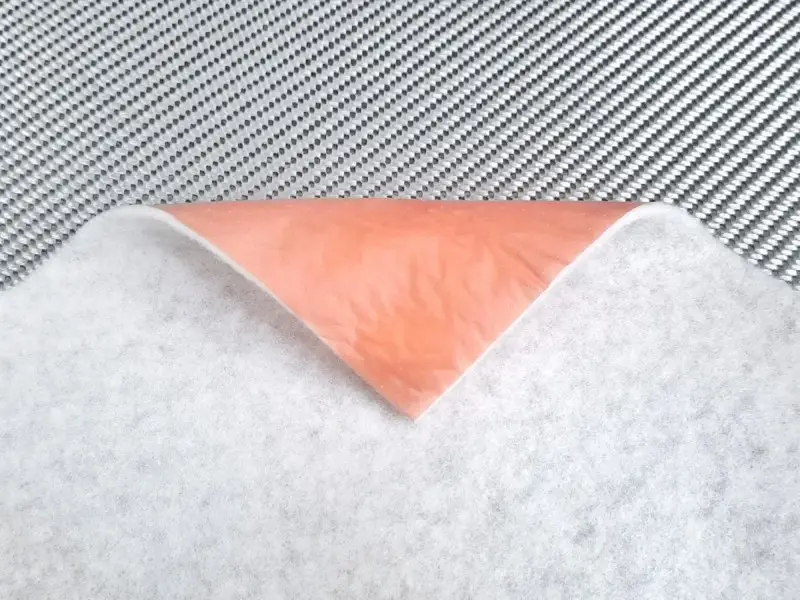
- Peel ply ? goes directly on the laminate, gives you a bondable surface finish
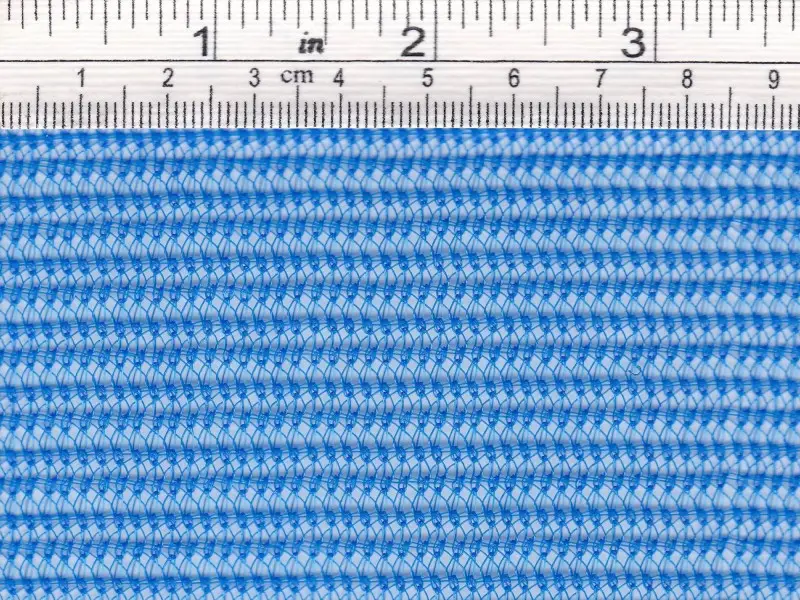
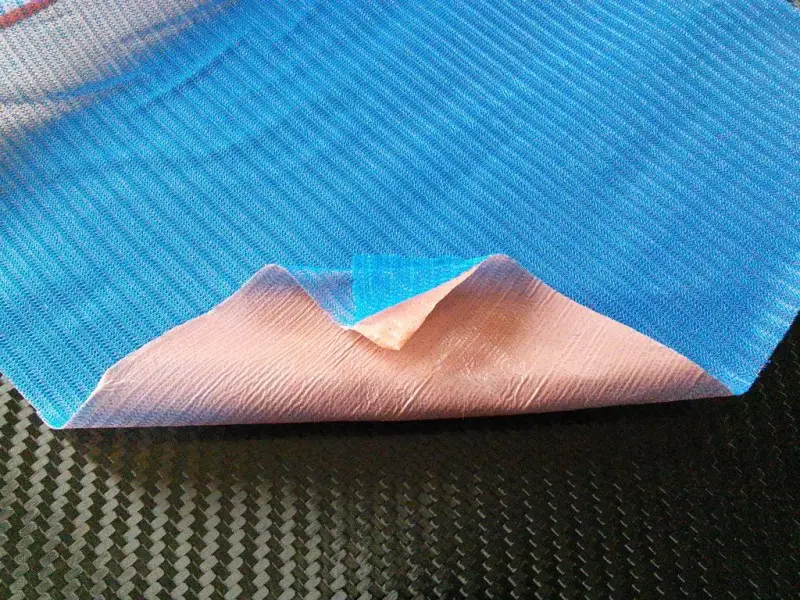
- Flow media / infusion mesh ? sits on top of the peel ply, distributes resin laterally
- Vacuum bag film ? sized with enough slack to avoid bridging at corners
- Sealant tape (tacky tape) ? the thing that actually makes your bag airtight
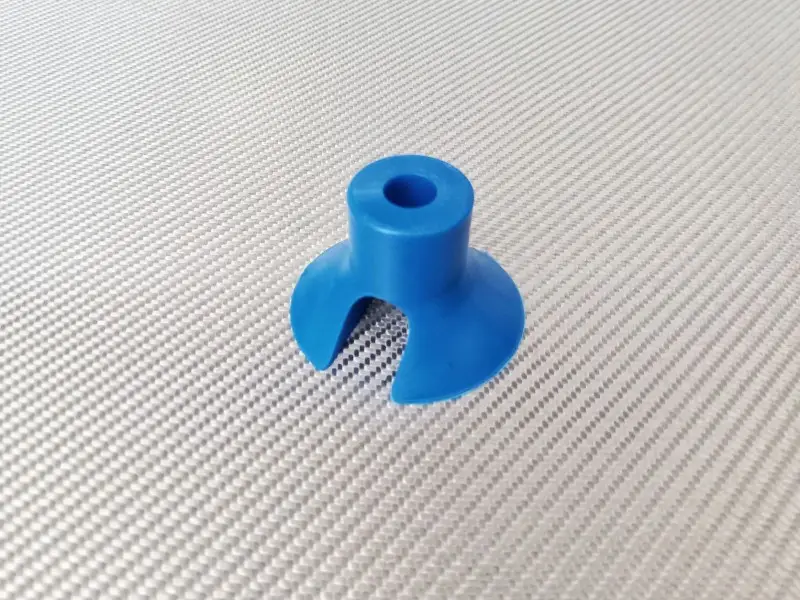
- Infusion plugs ? one for resin in, one for vacuum out (minimum)
Step 3 ? The Leak Check Nobody Takes Seriously Enough
Pull your bag down to target vacuum (-0.85 to -0.95 bar is typical), clamp off the vacuum line, and walk away for 10 minutes. Not 2 minutes. Ten.
If the gauge drops more than 20 mbar in 10 minutes, you have a leak. Find it with a thin bead of sealant tape run along the bag perimeter while the vacuum holds. You’ll see the bag “breathe” at the leak point.
- Where the infusion plug pushes through the bag ? the most common one
- Corners where the tacky tape wasn’t pressed all the way into the fold
- Any fold in the bag film that created a crease running perpendicular to the seal
- Overlapping sections of sealant tape (should always be a single continuous run)
Step 4 ? Resin Infusion: Controlling the Flow Front
Open your resin feed slowly. You want to see a steady, controlled wet-out front moving through the fabric ? not a race. If the resin sprints along one edge and leaves dry patches in the middle, your flow media placement is off, or your inlet/outlet positioning is wrong.
General positioning rules that actually work:
- Line infusion: Inlet runs along one edge, vacuum outlet along the opposite edge. Resin front travels across the shortest dimension of the part.
- Point infusion: Single inlet in the center, outlet runs around the perimeter. Better for near-square parts, harder to control on anything with significant curvature.
- Temperature: If your shop is cold (below 18?C), warm the resin to 25?30?C before mixing. Viscosity drops significantly and resin travel improves.
Step 5 ? After Infusion: Don’t Rush the Demold
This is where impatience destroys otherwise good parts. The resin might feel hard to the touch after 4 hours, but “touch dry” and “fully cured” are very different. Most infusion epoxies need a minimum of 16?24 hours at room temperature before demolding, and many benefit from a post-cure cycle at 60?80?C to reach full mechanical properties.
When you do peel the bag: start with the peel ply. It comes off in one piece if you pull it back over itself at a low angle. Never lift straight up ? you’ll stress the laminate before it’s fully supported.
Bulk Ordering for Production Runs
If you’re running more than a handful of infusions per month, buying consumables individually starts to hurt your margins fast. The sealant tape, flow media, and peel ply are all available in full-roll quantities at BulkComposites ? and the price difference at 50m vs. 5m quantities is significant enough that it’s worth planning ahead.
For the carbon fiber itself, a 3K 240g twill at the quantities we’re talking about for a small production shop (20?50m per month) puts you in a range where custom pricing makes sense. Contact the team directly with your monthly requirements ? we can usually turn around a quote within 24 hours.
Questions That Come Up Every Time
Flow media sometimes, if it’s clean and undamaged. Peel ply, no ? once it’s been in contact with cured resin the surface is contaminated and it won’t release cleanly from the next part. It’s a $2?3 cost item; replace it every run.
-0.85 bar is enough for most infusion work. Running deeper than -0.95 bar rarely improves part quality and increases the risk of pinhole formation in the bag film. If your pump can pull -0.98 bar, use a regulator.
The bag is bridging at the mold edge, creating a gap between the bag and the laminate stack. That gap becomes a resin highway. Fix it by folding extra bag material into the corner so there’s slack rather than tension at the mold edges.
Questions on a specific setup? Email service@bulkcomposites.com or reach the team on WhatsApp at +86 181 4876 2750. We’re not a call center ? you’ll get someone who actually works with composites.
Add comment