
Vacuum infusion (VARTM) uses a vacuum pump to pull low-viscosity epoxy through dry carbon fabric sealed under a bag. A sound infusion holds 0.85–0.95 bar of vacuum at the mold, reaches 60–65% fiber weight fraction, and mixes roughly 1.7× the dry fabric weight in resin. A 1 m² four-ply laminate wets out in 10–25 minutes at 25°C.
- Vacuum level measured at the mold, not at the pump. Every 0.05 bar you lose in the line costs fiber volume fraction, not just time.
- Size your resin before you open the inlet. Running out at 70% saturation is the most common way a part dies, and it is entirely preventable with arithmetic.
- A five-minute leak test decides the outcome. Target under 0.02 bar of drop in five minutes, pump off.
- Keep vacuum on until the resin gels. Releasing early makes resin retreat from the edges and air creep in through the bag.
- Flow media reaches the inlet, never the outlet. The gap at the vacuum end is a resin brake, not an oversight.
What vacuum infusion actually does
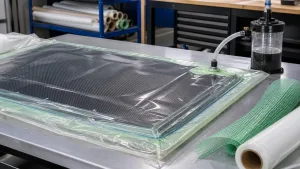
Vacuum infusion — also called resin infusion molding or VARTM (Vacuum Assisted Resin Transfer Molding) — is a closed-mold process. You stack dry reinforcement in an open mold, seal consumables and a bag over it, evacuate the space, and then let atmospheric pressure do two jobs at once: compact the laminate, and drive resin from a single inlet through the fabric toward the vacuum outlet.
The driving force is not gravity and not a pump pushing resin. It is the pressure difference between the resin bucket at roughly 1 bar and the evacuated laminate at 0.05–0.15 bar. That gradient is only about one atmosphere, which is why the resin has to be thin. It also explains why a partial vacuum gives a partial result: halve the differential and you halve the compaction pressure, so the laminate ends up thicker and resin-rich no matter how long you wait.
Compare the numbers with hand layup. A wet layup typically lands at 30–40% fiber by weight, with resin making up the rest. A well-run infusion reaches 60–65% fiber, which is the difference between a part that feels like plastic and one that rings when you tap it.
Infusion vs. hand layup vs. prepreg
| Method | Fiber wt. fraction | Typical void content | Sensible batch size | Tooling cost |
|---|---|---|---|---|
| Hand layup / wet lay | 30–40% | 3–8% | 1 part | Lowest |
| Vacuum infusion | 60–65% | 1–3% | 2–50 parts | Medium |
| Prepreg + autoclave | 60–68% | <1% | 50+ parts | Highest |
Fiber fraction and void figures are typical ranges for room-temperature epoxy systems; aerospace prepregs run higher on both counts.
Infusion sits in a useful middle band. It gives you most of the mechanical performance of prepreg without the freezer, the autoclave, or the per-hour cost. What it costs you instead is process discipline: one badly sealed bag ruins a part that already contains a full layup of carbon.
Vacuum bagging composites: the home workshop guide
— the bagging side of the process, if you are not infusing yet.
When not to infuse
Infusion is not automatically the right answer, and saying so is more useful than pretending otherwise.
- One-off small parts. Under roughly 0.1 m², the consumables and setup time cost more than the performance you gain. Wet layup plus a vacuum bag gets you 90% of the way there in a fraction of the time.
- Cosmetic-only thin skins. A 1 mm decorative panel gains almost nothing from 65% fiber fraction and is far easier to wet out by hand.
- Very high permeability stacks. Open-weave glass or thick nonwoven core can wet out so fast that flow media becomes unnecessary — and adding it just wastes resin.
- When you cannot control shop temperature. Infusion depends on stable viscosity. A workshop that swings between 12°C and 30°C will produce inconsistent parts no matter how good the technique is.
Materials and quantities
Quantities below are for a 1 m², four-ply laminate using 200 g/m² 3K twill. Scale linearly with area, and add 15% for trimming waste. Every item in the table links to the matching SKU, so you can size the job and cost it in one pass.
| Item | Specification | Quantity | Product / notes |
|---|---|---|---|
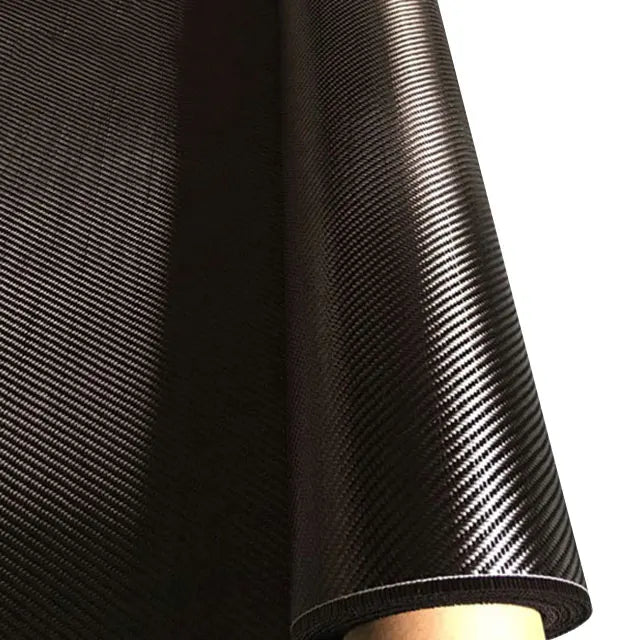
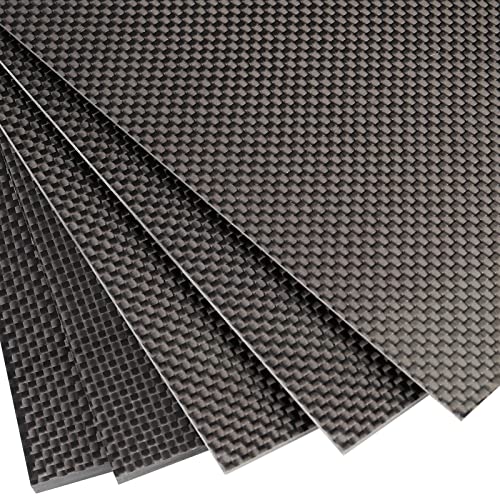
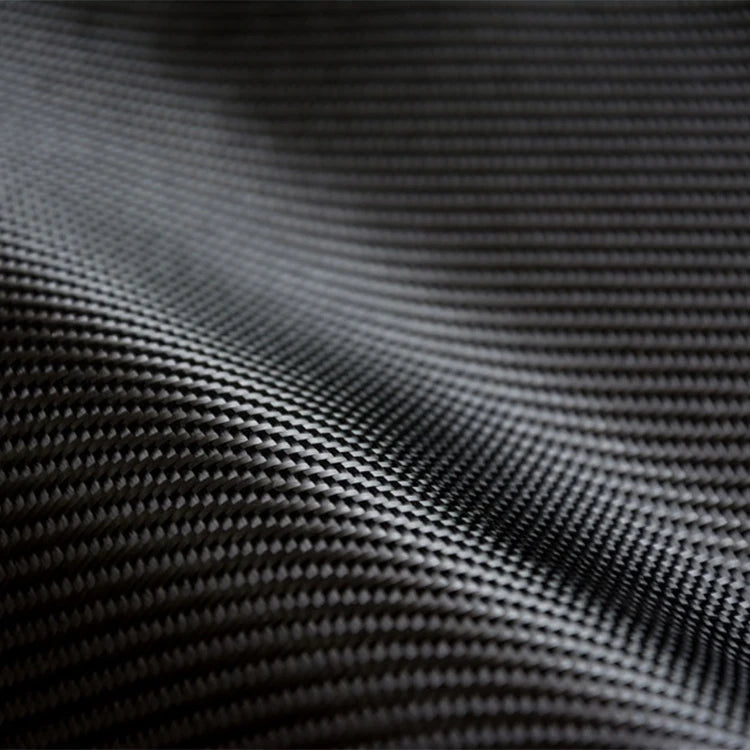
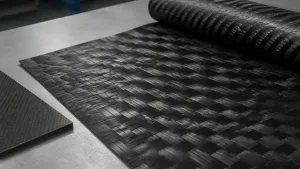
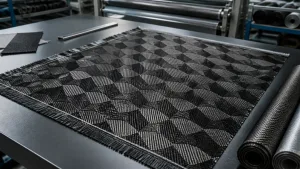
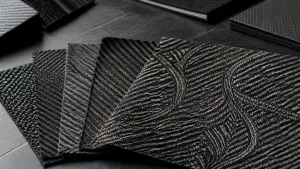
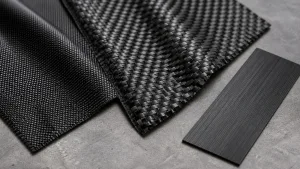
| Carbon fabric | 200 g/m² 3K twill, 2×2 weave | 4.6 m² (4 plies + waste) | 3k 200g Twill/Plain Weave Carbon Fibre Fabric Cloth — twill drapes better than plain weave over compound curves. How to pick the weight. |
| Infusion epoxy | 200–350 mPa·s at 25°C, slow hardener | 1.5–1.7 kg mixed | Sourced separately — standard laminating resin is usually too thick. Epoxy selection guide. |
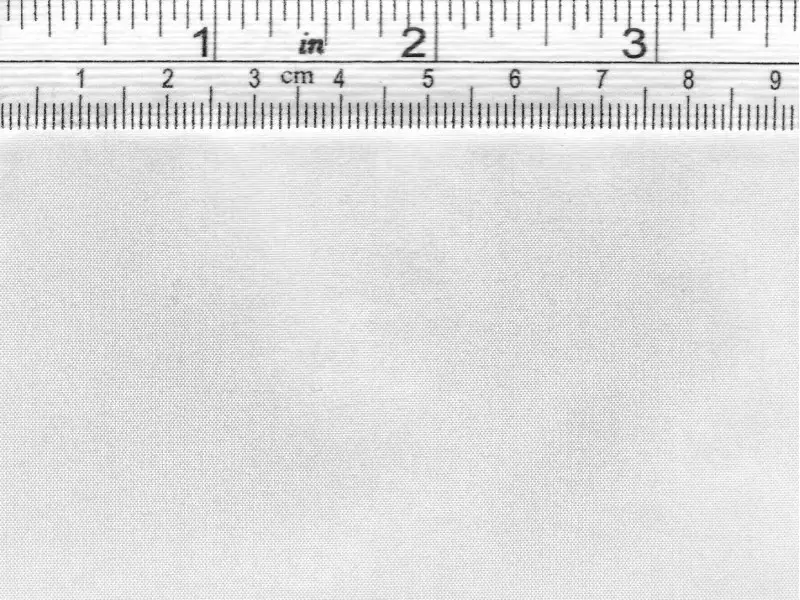
| Peel ply | 60–85 g/m² nylon, release-treated | 1.5 m² | Peel ply VC006 — leaves a bondable texture; peel it before secondary bonding. |
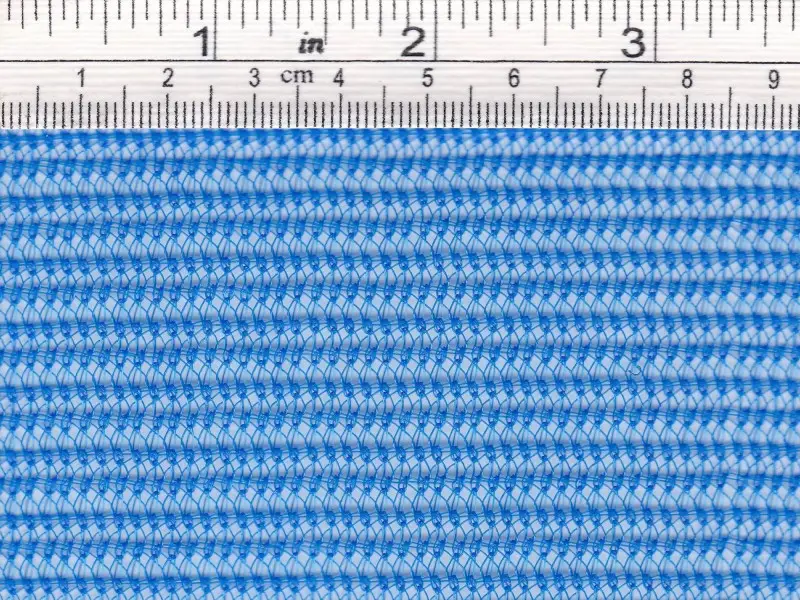
| Flow media | 120 g/m² knitted mesh | 1.3 m² | Flow fabric VC016 — must overlap the inlet, stop 25–50 mm short of the outlet. |
| Breather / resin brake | 150 g/m² polyester felt | 0.2 m² | Breather fabric VC014 — fills the gap in front of the outlet. |
| Vacuum bag film | 75 µm standard nylon | 1.4 m² | Vacuum film 75 µm — high-temp film only if you post-cure under vacuum. |
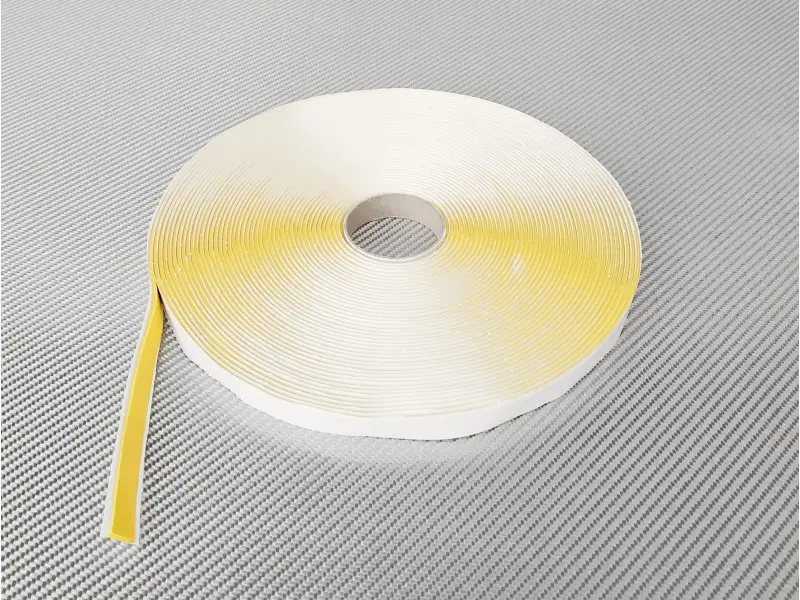
| Sealant tape | Butyl mastic tape roll | 1 roll | Mastic sealant tape roll VC099Y.2 — continuous loop, no joins on corners. |
| Spiral tube | 9×12 mm, 25 m roll | 2 × 1.2 m | Spiral tube VC019S — one inlet, one outlet; add a second inlet above 1 m². |
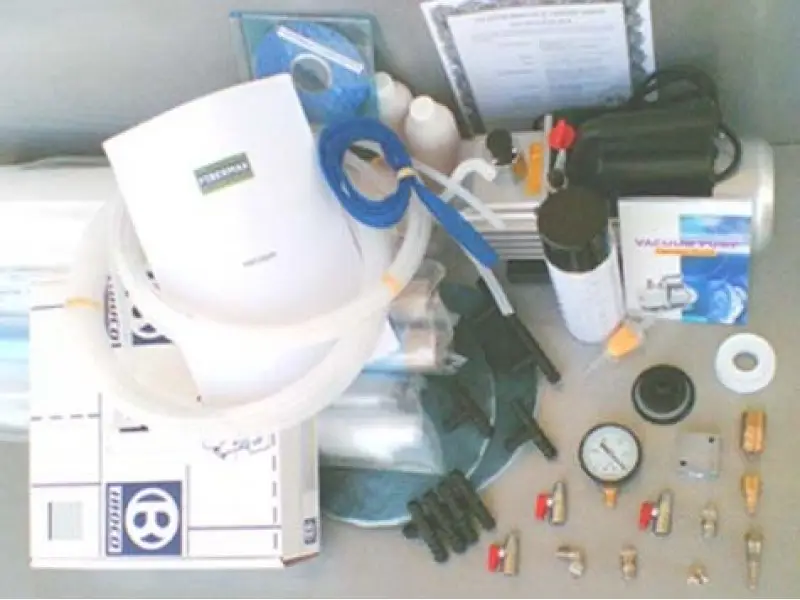
| Pump, trap, connectors | Continuous-duty, 0.9 bar ultimate vacuum | 1 kit | Infusion kit with medium pump — pump, manifold and bagging consumables. A shop vac will not work. |
| Core (optional) | Nomex/aramid honeycomb, 48 kg/m³ | As needed | Nomex/aramid honeycomb 10 mm — for sandwich panels. See all core materials. |
How much resin to mix
Do this before you cut anything. Running dry mid-infusion means either scrapping the part or splicing in a second batch with a different gel time — both are bad outcomes.
Mixed resin weight ≈ dry fabric weight × 1.6 to 1.9, plus 150–250 g for line loss.
Worked example for the 1 m² panel: 4 plies × 1 m² × 200 g/m² = 800 g of dry carbon. Multiply by 1.7 → 1,360 g. Add 200 g for what stays in the inlet tube and bucket → mix 1.55 kg.
The 1.6–1.9 band is not arbitrary. A 60–65% fiber weight fraction implies 35–40% resin, which is a ratio of about 1.5–1.7. The upper end covers what the flow media absorbs and what never leaves the bucket. If you are infusing a thick stack with core material, stay near 1.9 — honeycomb and foam can soak up a surprising amount.
Mixing 10% too much resin costs you a few dollars. Mixing 5% too little costs you the entire layup plus a day of mold time.
The eight steps, with checkpoints
Step 1 — Mold preparation and release
Clean the mold with a solvent wipe, then apply release. On a mold that has already been broken in, 4–5 coats of carnauba wax, buffed between coats, is enough. On a new or porous mold — tooling gelcoat, MDF, 3D-printed plugs — use 6–8 coats plus a sealer for the first part, or you will spend an afternoon digging the part out.
Buff each coat until it flashes off to a dull haze before applying the next. Wax applied over wet wax just smears; it does not build a film.
A clean glove wiped across the mold leaves no drag and no shiny patches. If it squeaks, you have wax; if it slides freely, you may have gone through it.
Step 2 — Dry layup
Cut plies 25–50 mm oversized on all edges. For multidirectional strength, alternate orientation between plies — 0°/90° for a balanced panel, adding ±45° where you expect shear.
The part most guides gloss over: dry fabric does not stay where you put it. Press it into a corner with a gloved hand and it springs back, and once the bag pulls down, that corner becomes a bridge with a resin-rich void underneath. Three things actually work:
- Spray a very light coat of fabric adhesive (3M Super 77 or a dedicated composite spray), wait 30 seconds until tacky, then place the ply. One light pass, not a soak.
- Use hot-melt binder yarn or a few stitches at the edges for thicker stacks.
- For compound curves, cut paper patterns from the mold first and lay up in segments rather than forcing one piece.
Run a bare hand across every corner and return flange. No fabric should lift. If it does, fix it now — this is the last cheap moment to do so.
Step 3 — Building the consumable stack
- Peel ply. One layer directly over the laminate, smoothed flat, with no wrinkles. Wrinkles telegraph into the surface finish.
- Flow media. Lay it over the peel ply so it covers the whole part and overlaps the inlet spiral tube. Stop it 25–50 mm short of the outlet line.
- Resin brake. In that gap, add plain peel ply or breather cloth. This is what stops resin from short-circuiting straight into the vacuum line before it has crossed the laminate.
- Spiral tube. Inlet along one edge, outlet along the opposite edge or at the highest point of the mold.
If flow media touches the vacuum line, resin takes the path of least resistance and reaches your catch pot in minutes while the middle of the part stays dry. The gap is not a detail. It is the mechanism.
Step 4 — Bagging and leak testing
Run a continuous loop of sealant tape around the mold flange, 50 mm back from the edge, with no joints at corners — fold, don’t butt. Cut bag film 20–30% larger than the mold, then work in slack with omega folds at every corner so the bag can drop into the mold instead of spanning across it.
Now test. This is the step that separates a part from a scrap pile.
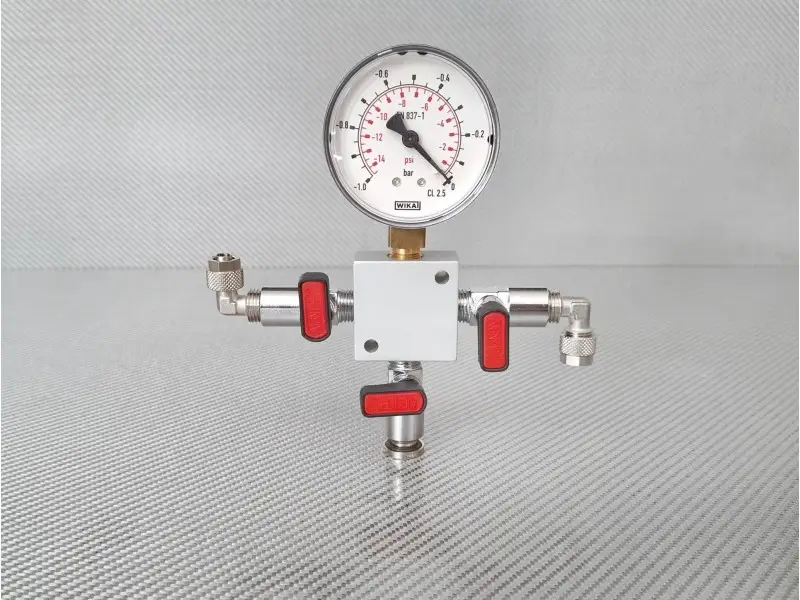
- Pull full vacuum with the inlet clamped.
- Once the gauge stabilizes at 0.85 bar or better, stop the pump (or clamp the vacuum line at the trap).
- Record the reading, wait 5 minutes, read again.
Pass: 0.02 bar or less of drop in 5 minutes. For vacuum-critical work, tighten to 0.017 bar. A drop of 0.05 bar means a real leak that will pull air into the laminate and leave you with porosity.
To find it, work in this order: listen along the tape line with a stethoscope or an ultrasonic leak detector, then brush soapy water along the sealant tape and every tube connector, then check bag folds. Ninety percent of leaks are at a connector or a tape join, not in the middle of the film.
Gauge holds above 0.83 bar with the pump off for five minutes. Do not open the resin inlet until you have this.
Step 5 — Mixing and infusing
Bring resin and hardener to 25–30°C before mixing. Viscosity roughly doubles for every 10°C you drop, so cold resin in a cold shop is the second most common cause of a stalled infusion. Water baths work; heat blankets create hot spots and uneven cure.
Measure by weight, not by eye, and mix for the full time stated on the data sheet — usually two minutes, scraping the sides and bottom of the cup. If you have a vacuum chamber, degas for 2–3 minutes until the foam collapses. It is optional, but it removes the pinholes that otherwise show up in a clear or cosmetic finish.
Pour the mixed resin into a clean bucket, set the inlet tube in it, and open the clamp. The resin front should start moving within seconds.
Keep the mold within 3°C of the resin. A cold mold chills the resin front as it advances, thickens it locally, and makes the flow race wherever the mold happens to be warmer.
Step 6 — Watching the flow
A 1 m² four-ply panel typically saturates in 10–25 minutes at 25°C with a slow hardener. Watch the front rather than the clock.
- Even advance across the width: normal.
- One lobe racing ahead and reaching the outlet early: the flow media is too close to the vacuum line, or the fabric is not compacted in that region.
- Front stalls and stops: vacuum has dropped, the resin has cooled and thickened, or a fold in the peel ply is blocking flow. Check the gauge at the mold first, before you touch anything else.
For parts larger than about 1 m², or long narrow parts with an aspect ratio beyond 3:1, add a second inlet or split the flow with a Y-connector. A single inlet will produce a dry patch at the far end every time at that scale.
Step 7 — Clamping and curing
Two decisions here, and the second one is where most guides go wrong.
When to close the inlet. Either when the resin front reaches the outlet tube, or when you have visually confirmed full wet-out with no dry patches. Reaching the outlet is the safer trigger; letting resin run into the catch pot for a minute flushes air out of the line but wastes resin that you cannot reuse.
Then keep the pump running. Clamp the inlet, leave vacuum applied, and wait for the resin to gel. At 25°C with a slow hardener that is typically 60–120 minutes — check your data sheet. Until the resin stops flowing, it is still mobile, and releasing vacuum now will pull it back from the edges, let air in through the bag, and let the laminate spring back thicker.
Once the part is gelled and cool to the touch, shut off the pump and remove the lines. Demold after 12–24 hours at room temperature. For anything structural, follow the resin’s post-cure ramp — typically 60–80°C for 4–8 hours, heated at no more than 1–2°C per minute with the part supported. Post-cure can raise the glass transition temperature by 20–30°C, which is often the difference between a part that survives a hot car and one that does not.
Before releasing vacuum, press a gloved finger into the resin in the catch pot line. If it is still stringy, the laminate is not gelled and vacuum stays on.
Step 8 — Demolding and finishing
Peel the bag, flow media, peel ply, and spiral tube in that order. Work plastic wedges around the perimeter rather than levering at one point. If the part resists, stop and check for a mechanical lock or an undercut — forcing it usually takes mold gelcoat with it.
Trim with a diamond-coated cutting wheel or a carbide router bit. Cut outside, or use a wet saw. Carbon fiber dust is conductive and abrasive; it will find its way into motors and lungs equally well.
Process parameters at a glance
| Parameter | Target | Why it matters |
|---|---|---|
| Vacuum at the mold | 0.85–0.95 bar (25–28 inHg) | Sets compaction pressure and therefore fiber fraction |
| Leak rate (pump off, 5 min) | ≤ 0.02 bar drop | Anything higher pulls air into the laminate |
| Resin viscosity at infusion temp. | 200–350 mPa·s | Too thick stalls the front; too thin drains from the edges |
| Resin / mold temperature | 25–30°C, within 3°C of each other | Viscosity roughly doubles per 10°C drop |
| Resin : fiber weight ratio | 1.6–1.9 | Corresponds to 60–65% fiber weight fraction |
| Gel time at 25°C (slow hardener) | 60–120 min | Determines how long vacuum must stay on |
| Demold | 12–24 h at 20–25°C | Green strength is far below final |
| Post-cure | 60–80°C for 4–8 h, ramped ≤2°C/min | Raises Tg by 20–30°C; controls residual stress |
Troubleshooting
| Symptom | Likely cause | Fix / prevention |
|---|---|---|
| Resin front stalls mid-part | Vacuum dropped; resin cooled; peel ply folded over | Read the gauge at the mold first. Re-warm resin, find the leak, or add a second inlet before gel time runs out |
| Dry spots along the outlet edge | Flow media stopped too far back, or hardener too fast for the part size | Extend media to within 25–50 mm of the outlet; use slow hardener on anything above 0.5 m² |
| Resin floods the catch pot immediately | Flow media touches the vacuum line | Build a 25–50 mm resin brake of peel ply or breather. This is the single most common stack error |
| Bridging — bag spans a corner, void underneath | Not enough bag slack; fabric lifted during layup | Omega folds at every corner; fix fabric with light spray adhesive |
| Part thicker than designed, resin-rich | Vacuum released before gel | Keep the pump running until the catch-pot resin is no longer stringy |
| Surface pinholes or fine bubbles | Small leak during infusion; resin not degassed | Re-run the 5-minute test; degas in a chamber for 2–3 minutes |
| Discoloration, cracking, or a hot bag | Exotherm — thick section, fast hardener, hot shop | Slow hardener above 6 mm section or 30°C ambient; split the infusion; fan the bag surface |
| Part stuck in the mold | Release film compromised; new or porous mold under-waxed | 6–8 coats plus sealer on first pulls from a new mold. Never mix wax and semi-permanent systems |
Safety
The dust gets the attention, but epoxy sensitization is the risk that ends careers. Repeated skin contact with uncured resin or hardener can trigger an allergic response that becomes permanent — once sensitized, some people cannot work with epoxy at all.
- Nitrile gloves, not latex. Latex does not resist epoxy and gives a false sense of protection. Change gloves when they get tacky.
- Long sleeves and eye protection for all mixing and pouring. Keep a bottle of vinegar or a dedicated resin-removal wipe at the bench; solvents drive epoxy into the skin rather than off it.
- Ventilation for the whole cure, not just mixing. Amine blush and styrene-free systems still off-gas.
- P2/P3 respirator plus wet cutting for trimming and sanding. Carbon dust is conductive, abrasive, and not something to sweep dry.
- Keep A and B waste separate until cured, then dispose per local rules.
Frequently asked questions
What vacuum level do I need for carbon fiber infusion?
Target 0.85–0.95 bar below atmospheric (25–28 inHg), measured at the mold rather than at the pump. Below about 0.85 bar, compaction pressure drops and the laminate ends up thicker and resin-rich. Long spiral tube runs can lose 0.05 bar, so always take the reading at the mold.
How much resin should I mix for vacuum infusion?
Dry fabric weight × 1.6 to 1.9, plus 150–250 g for line loss. A 1 m² four-ply laminate at 200 g/m² weighs 800 g dry, so mix about 1.55 kg. Thick stacks with core material sit at the top of that range.
Can I use a shop vacuum instead of a vacuum pump?
No. A shop vac moves air but cannot hold a steady deep vacuum, and it will burn out under continuous duty. You need a pump rated for 0.9 bar ultimate vacuum, running continuously for an hour or more, plus a resin trap to keep epoxy out of it.
How long does an infusion take?
A 1 m² four-ply panel typically wets out in 10–25 minutes at 25°C. Larger parts, thicker stacks, or cooler resin can take 45–60 minutes. Keep vacuum on for another 60–120 minutes after the inlet is clamped, until the resin gels.
Why does my part have dry spots?
Three causes account for nearly all of them: flow media stopping too far from a corner, a resin brake gap that is too wide, or a hardener that gelled before the front finished traveling. On parts above 1 m², a single inlet is also a common culprit.
Can I infuse without flow media?
On very small parts or highly permeable fabrics, yes — flow rate drops by roughly an order of magnitude, so it only works at short distances. Above roughly 0.2 m², flow media is what makes the process practical.
How is infusion different from RTM?
RTM injects resin under positive pressure into a closed matched mold. Infusion uses only atmospheric pressure and a single-sided mold with a vacuum bag. Infusion tooling is much cheaper; RTM gives faster cycle times and better surface finish on both faces.
Everything in the material list, in one place — wholesale pricing, MOQ on request.
- 3K / 6K / 12K carbon fiber fabric — full weave and weight range
- Flow media · Peel ply · Breather fabric
- Mastic sealant tapes · Infusion connectors
- Mixing sets & starter kits — first-timer bundles
New to composites? Start with the starter kit walkthrough instead of buying parts separately.
[[One line of credentials — 例如:Composites fabricator, 12 years in marine and motorsport laminating; runs N infusion pulls a year.]]
Add comment